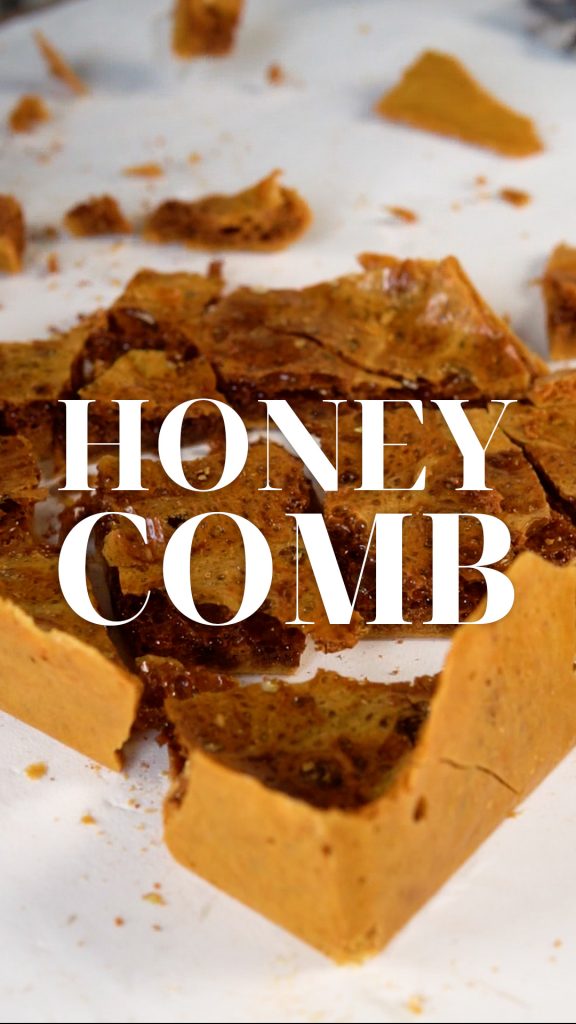
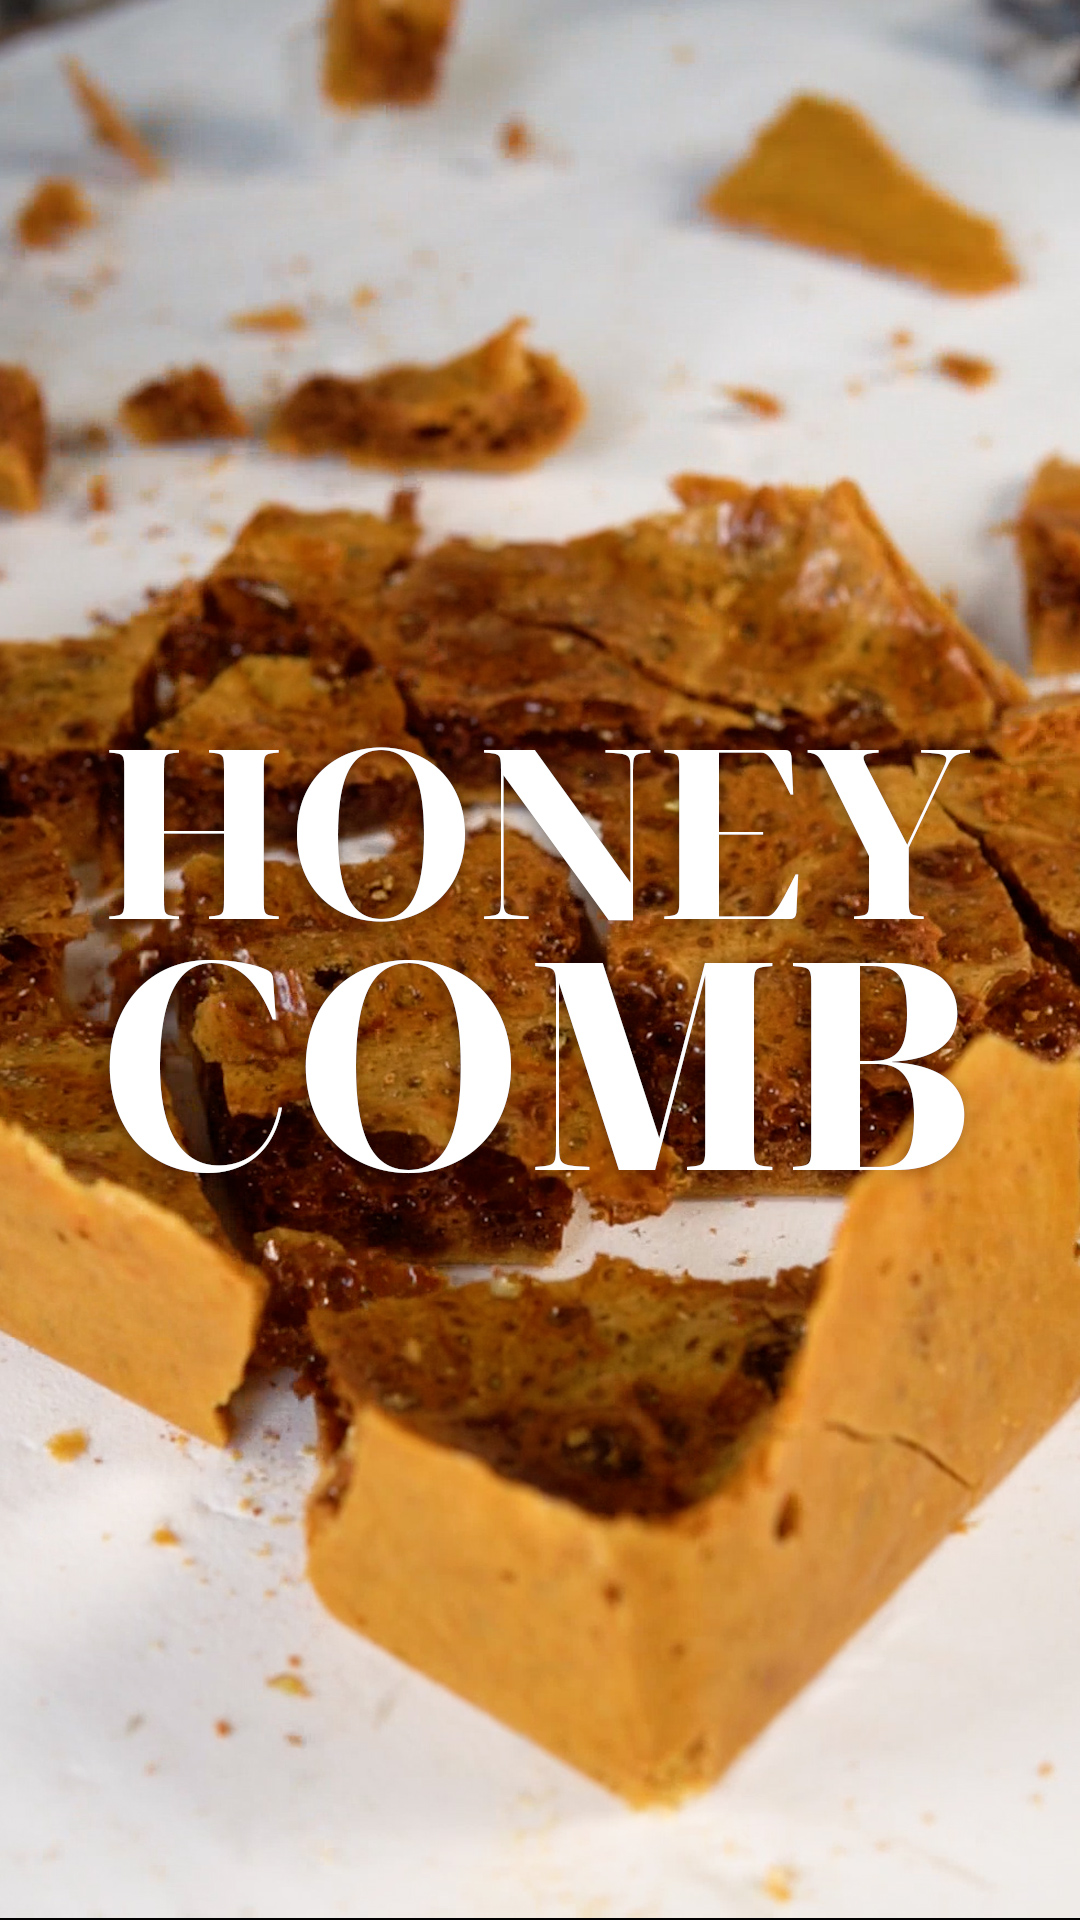
Have you ever really wanted to make honeycomb, but are too intimidated to work with sugar? Well we are here to take you through the process you step by step showing you how to make the most delicious homemade golden honeycomb, perfect to snack on or to give as a gift!
Homemade Golden Honeycomb
INGREDIENTS
- 2 cups white sugar
- 1/2 cup honey
- 1/2 cup water
- 1 tbsp baking soda
METHOD
GREASE and line a 16x16cm cake tin.
ADD the sugar, water and honey to a large pot over low to medium heat.
STIR the mixture for 10-15 minutes until every single sugar granule has dissolved. Don’t let the water boil before this step otherwise the mixture will crystalise.
ONCE everything has dissolved, turn the heat up and bring the water to a boil. Do not mix or stir at all during this stage.
ALLOW it to bubble away until the sugar beings to turn a deep amber colour. Once all of the sugar is this colour, remove the pot from the heat, add the bicarb and stir it through using a wooden spoon while it begins to puff and expand. Do not over mix, only stir until the bicarb is incorporated. Also do not touch the mixture at all as it will be dangerously hot.
POUR the bubbling honeycomb into a prepared lined tin. The honeycomb will continue to puff up, then deflate a bit. Set it aside and allow to cool for at least 1 hour before unpacking it.
REMOVE the honeycomb from its tin, cut into pieces and enjoy.
LAYER the honeycomb pieces between baking paper in an airtight container to prevent them from sticking to each other.
Extra decoration idea:
Melt some dark chocolate and coat your homemade honeycomb pieces in it, top with sea salt flakes to finish. Use baking chocolate if you want it to set, otherwise store-bought chocolate will taste better but remain soft to the touch.
Homemade Golden Honeycomb
Ingredients
- 2 cups white sugar
- 1/2 cup honey
- 1/2 cup water
- 1 tbsp baking soda
Instructions
GREASE and line a 16x16cm cake tin.
ADD the sugar, water and honey to a large pot over low to medium heat.
STIR the mixture for 10-15 minutes until every single sugar granule has dissolved. Don't let the water boil before this step otherwise the mixture will crystalise.
ONCE everything has dissolved, turn the heat up and bring the water to a boil. Do not mix or stir at all during this stage.
ALLOW it to bubble away until the sugar beings to turn a deep amber colour. Once all of the sugar is this colour, remove the pot from the heat, add the bicarb and stir it through using a wooden spoon while it begins to puff and expand. Do not over mix, only stir until the bicarb is incorporated. Also do not touch the mixture at all as it will be dangerously hot.
POUR the bubbling honeycomb into a prepared lined tin. The honeycomb will continue to puff up, then deflate a bit. Set it aside and allow to cool for at least 1 hour before unpacking it.
REMOVE the honeycomb from its tin, cut into pieces and enjoy.
LAYER the honeycomb pieces between baking paper in an airtight container to prevent them from sticking to each other.
Notes
***Extra decoration idea: Melt some dark chocolate and coat the honeycomb pieces in it, top with sea salt flakes to finish. Use baking chocolate if you want it to set, otherwise store-bought chocolate will taste better but remain soft to the touch.
Did you make this homemade honeycomb recipe? Tag us on Instagram @foodandhomesa!
ALSO SEE: Baklava Cheesecake Cups
https://www.foodandhome.co.za/recipes/baklava-cheesecake-cups
ALSO SEE: Golden Gaytime Cake
https://www.foodandhome.co.za/recipes/golden-gaytime-cake


