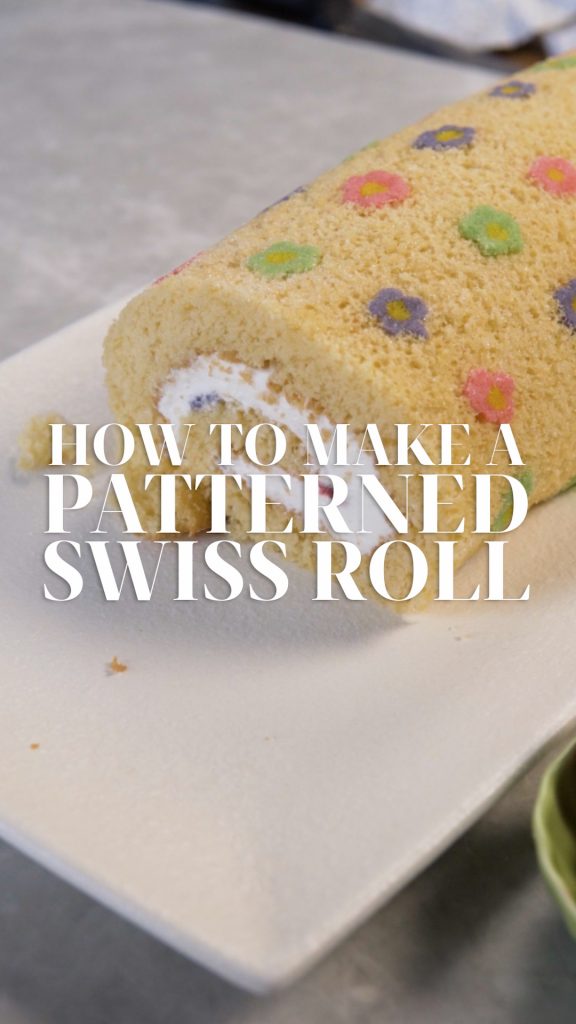
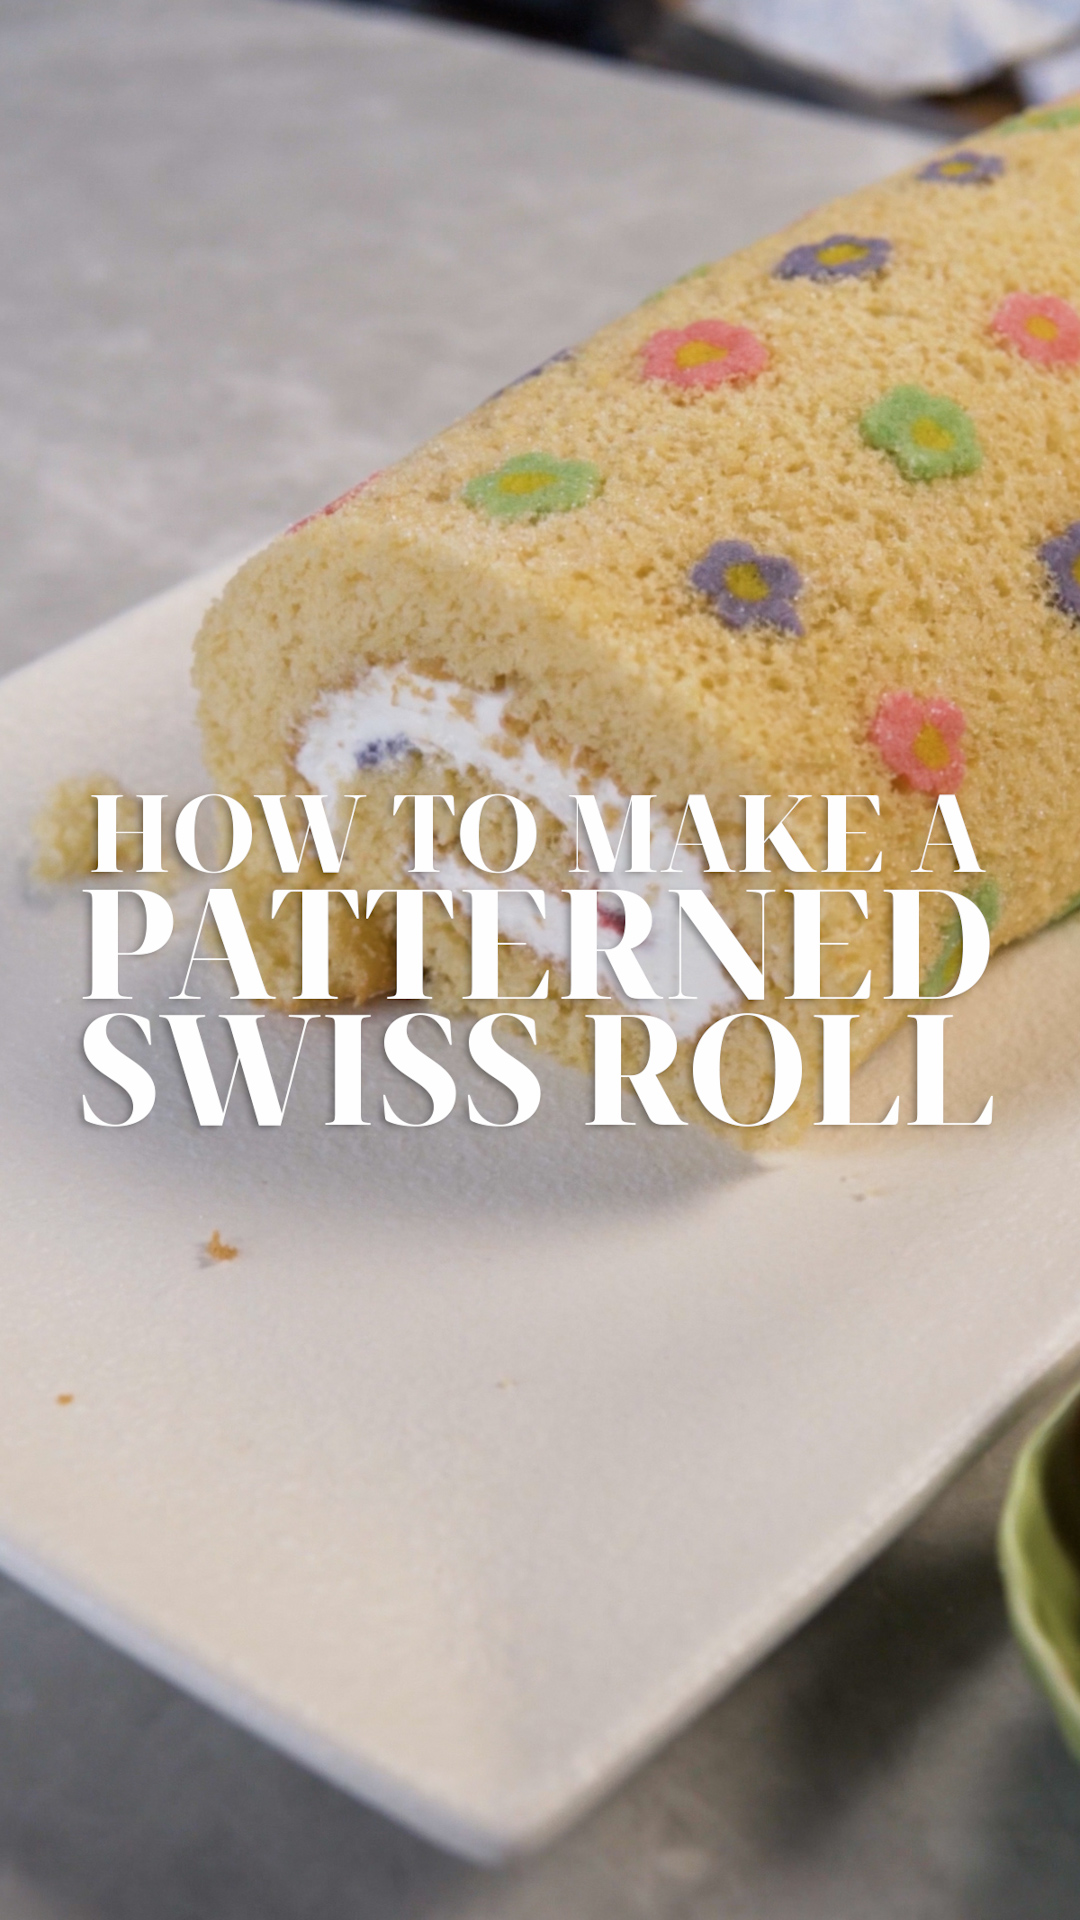
For the love of mothers, we decided to make a Swiss roll for tea. This isn’t just any Swiss roll though, we created a beautiful floral pattern to match the cute aesthetic, and we love how it turned out! To learn how we made a patterned Swiss roll, keep reading!
How to make a patterned Swiss roll
You will need
- butter
- sugar
- flour
- egg white
- food coloring
- eggs
- milk
- oil
- white vinegar
- vanilla extract
- salt
- baking powder
- cream
- seasonal berries
How to make the pattern – It’s all in the prep
Before making the cake, it’s important to make the paste that will create your pattern. This consists of a mixture of butter, sugar, flour and egg white. Once all mixed and smooth, separate the paste into 4 bowls and colour them each, we used pink, yellow, purple and green for a pretty flower aesthetic. We then spooned these colours into 4 different piping bags. If you don’t have piping bags, you can use Ziploc bags or make your own from baking paper (check out our article on how to make your own piping bags here!)
Grease and line a baking tray or Swiss roll tray (23x33cm) with baking paper. Snip the ends of the piping bags off and begin to pipe your pattern straight onto the baking paper. We used yellow for the buds of the flowers and the remaining colours for the petals. Once you’ve finished your pattern, place the tray in the freezer while you make the cake.
For the cake
The most important tip to keep in mind for the cake is that you want the batter to be super light and aerated. The first step is to beat the eggs until frothy, for about a minute. Next, add the sugar and beat for about 6-8 minutes until you have a beautiful, full bowl of pale, thick batter. Yes, that amount of time is accurate and so necessary. Once the batter is thick enough it has reached ribbon stage, this is when the batter leaves streaks in the bowl when drizzled with a spoon.
Its important to then add the remaining ingredients carefully and with as little mixing as possible (but they still need to be fully incorporated into the batter) – to keep as much of the air as possible.
To bake
Remove your tray from the freezer and set on a counter. Gently pour the cake batter over your pattern and smooth over with an off-set spatula or knife to evenly disperse. Bake for 12 minutes until golden and it springs back at your light touch.
How to roll your Swiss roll
Once the cake has baked, you need to work fast to get it rolled up. Cut out two rectangles of baking paper a bit larger than the size of your cake and place on your counter. Dust both evenly with a thin layer of caster sugar. Remove your cake from the oven and gently flip out onto the dusted baking paper, pattern-side up. The original baking paper with the floral pattern will now be facing you. Gently peel it off to expose the pattern. Yay! You did it!
Flip the cake again onto the second piece of paper so that the pattern is facing down again. Tightly roll the cake up (including the baking paper) starting from one of the narrower sides. Enclose in a paper towel to cool completely before unrolling again.
When you’re ready to fill the cake, gently unroll it. Don’t press the curves down as it might cause the cake to crack. Work carefully, lathering on the cream and berries, then gently roll up again and place on a serving dish with the fold underneath to finish. And there you have it , a beautiful patterned Swiss roll!
Patterns come in all shapes and sizes!
If you’re looking to experiment with a different pattern then go ahead! Create polka dots, hearts, words or shapes with your paste, and customize this cake to any occasion like Valentine’s day, a birthday or celebration!
Check out our video on how we made our patterned Swiss roll below!
View this post on Instagram
How To Make a Patterned Swiss Roll
This cute Swiss roll pattern is perfect as a dessert addition to your Easter lunch!
Ingredients
- For the paste
- 30g butter, softened
- 25g granulated sugar
- 40g cake flour, sifted
- 1 large egg white
- food colouring of choice
- For the cake
- 4 eggs
- 130g granulated sugar
- 3 tbsp milk
- 2 tbsp oil
- 1 tsp white vinegar
- 1 tsp vanilla extract
- 1/2 tsp salt
- 1 cup flour
- ½ tsp baking powder
- For the filling
- 2/3 cup cream, whipped
- 2 tbsp sugar
- 1 punnet raspberries, torn
Instructions
Make the paste
Add the butter, sugar, flour and egg white to a bowl. Using a whisk or spoon, mix the ingredients together well until a smooth paste forms.
Divide the paste into 4 separate bowls and colour each a different colour. Spoon each colour into a piping bag and tie closed.
For the floral pattern
Grease a Swiss roll tin. Line a baking tray or Swiss roll tray (22x33cm) with baking paper and grease again.
Snip the ends off of each piping bag and alternate between colours to pipe small flowers onto the baking paper, starting with the yellow buds and finishing with petals in the purple, pink and green.
Place the tray in the freezer to set.
For the cake
Preheat the oven to 180ºC. Place eggs in a large glass bowl, beat for 1 minute until pale and frothy.
Add the sugar and begin to beat on the highest setting, for about 6-8 minutes until the mixture has almost tripled in volume and is light peach in colour. The batter should make thick streaks in the bowl as it falls in on itself, this is called ribbon stage.
Mix milk, vinegar and vanilla together and beat into the mixture.
Sift the dry ingredients together. Gently fold into the egg mixture in two batches until just incorporated. Keep as much air in the batter as possible.
Remove the tray from the freezer. Pour batter over the stencil and smooth out with a spatula or knife. Bake for 10-12 minutes until golden and jus springs back when touched. Do not over cook as it will become try.
To make a roll
Working quickly, cut out two rectangular sheets of baking paper jut larger than the cake and dust both with caster sugar. Tip the cake out onto the first sheet to expose the original stenciled baking paper, carefully peel off.
Flip the cake back onto the second sheet of baking paper to show the plain side. Roll the cake up tightly, keeping the baking paper attached. Cover with a tea towel and set aside to cool completely.
For the filling
Add the sugar to the cream and whip the cream to stiff peaks.
To assemble
Unfold the cake carefully. Layer the cream over the top and dot with torn raspberries. Carefully re-roll the cake, leaving behind the baking paper this time.
Place Swiss roll on a serving plate with the fold underneath. Slice and enjoy with tea.
Did you make our patterned Swiss roll recipe? Tag us on Instagram @foodandhomesa!
ALSO SEE:


