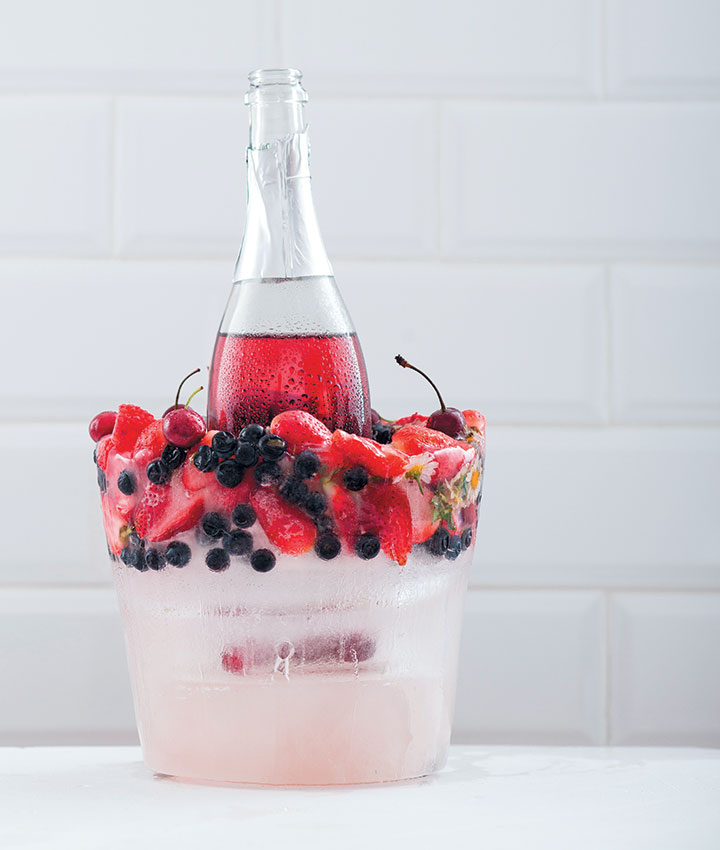
We’re loving this fun and quirky, statement ice-bucket idea for Christmas or New Year’s Eve celebrations!
Here’s how to make a berry ice bucket:
It’s best to begin the ‘pimping’ of your ice bucket the day before your party (although, you can do this up to a week in advance and store in the freezer).
You’ll need a standard ice bucket, a smaller bucket or container (the base should be a little larger than a bubbly bottle), some masking tape and seasonal berries and flowers.
- Begin by filling the larger bucket halfway with water, then add handfuls of berries and flowers.
- Place the smaller bucket inside the larger bucket to create the central well – weight the smaller vessel with enough water so the tops of the buckets are aligned.
- Top up the larger bucket with enough water to fill.
- Secure the smaller bucket to the larger with some tape to keep it central.
- Freeze overnight.
- Remove your ice bucket from the freezer about 30 minutes before you need it – this way the edges will melt slightly and it will easily slip out of the mould.
Recipe and styling by Claire Ferrandi
ALSO SEE: How to wrap a gift using Japanese pleating


