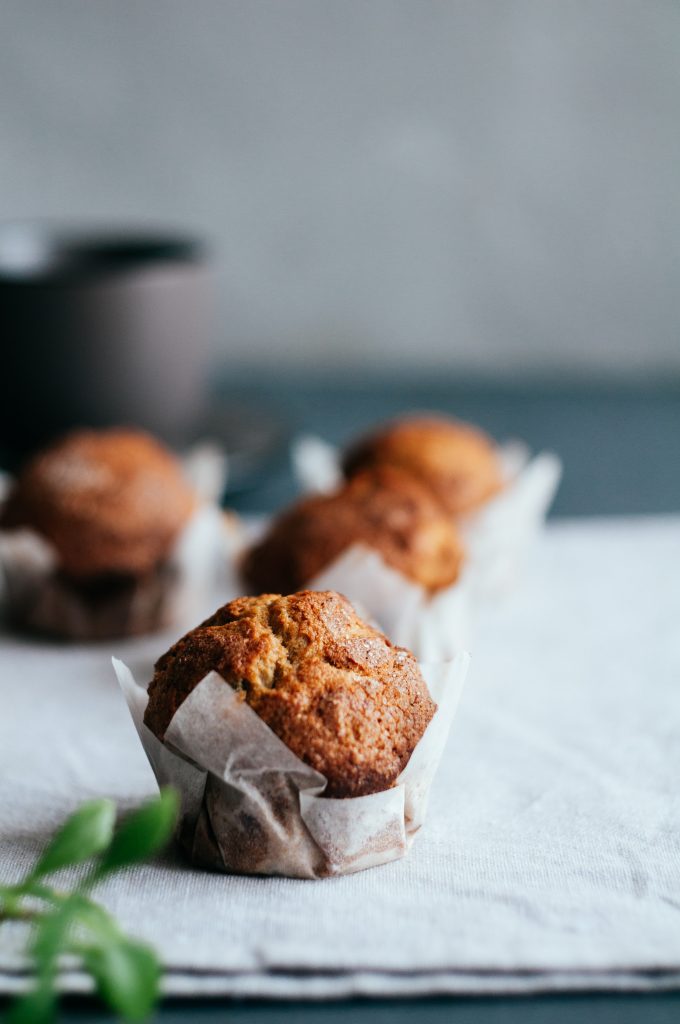
Cut, fold and crimp your way to beautiful tulip-shaped muffin liners that will elevate humble muffins to a cafe-worthy class!
Alongisde banana bread and lemon cake, muffins are one of the most homely bakes I can think of. They don’t require any fancy equipment or technique and often look a little rustic…everything I love about humble homestyle bakes. Now we’re making them even better by baking them in homemade tulip-shaped muffin liners.
These liners are so pretty that you will never think about buying any ever again. At no extra cost, you only need that roll of baking paper already in your drawer and a few minutes of your time. Now if your brain is going a little wild imagining intricate origami swans, I’m going to stop you right there. You don’t need any pro-folding skills to make your own muffin liners.
These liners can be used for muffins, cupcakes, little diner rolls…whatever your heart desires! Bonus: any batter that you may have messed on the sides of the liners can easily be wiped off, or peeled off after baking.
The process
Making your own muffin liners is simply a case of cut, mould & crimp!
To start, you’ll need to find something around which you’ll ‘mould’ your liners. This can be a glass, tin, container, cup…anything that fits snugly into the holes of your muffin tin. Try find something that has a sharp, straight-edged base as opposed to rounded edges. Also bear in mind that smoother surfaces, like glass, are trickier to work.
Cut the parchment paper into whatever size squares best suit your pan & vision. As a rule of thumb, use 12cm squares for regular muffins and 15cm squares for extra frilly length or jumbo muffins.
Once that’s done, all you need to do is crimp and fold the squares around the base of your mould to form a muffin liner shape. Fill with your fav muffin batter and bake. Easy peasy!
Why you should be making your own muffins liners
- It can save you some money: Store-bought muffin liners can cost about R1.50 each. Although this doesn’t sound like a lot, it’s helpful if you’re making these muffins for a charity event, market day, as part of your own home baking business or if you’re an avid baker – all these little costs add up! Making your own liners also means you can make the exact number you need without being left with one or two that ultimately get squashed and forgotten at the back of a kitchen drawer.
- They look stunning: These muffin liners look far better than the regular crimped liners you get at baking supply stores. Plus the extra effort makes for extremely thoughtful gifts.
- Extra height: Homemade muffin liners can be filled above the usual capacity of your muffin tin since they have extra height. That means extra tall, jumbo muffins!
Watch how to make your own muffin liners on our Instagram here!
View this post on Instagram
How to make muffin liners using baking paper
YOU WILL NEED:
- Mould
- Baking paper
- Muffin tin
- Ruler, pencil and scissors
METHOD:
- Find a container, glass, cup or tin that fits pretty snugly into your muffin tin. This will act as your mould.
- Cut the baking paper into 12x12cm squares for smaller muffins or 15x15cm squares for jumbo muffins.
- Crease each square in half both ways, forming an ‘X’ that marks the centre of the square.
- Turn your mould upside down so the base is facing up. Place a square of paper over your mould, lining up the centre of the paper to the centre of the glass. Pinch and fold one side so that it fits snug against the mould. Twist the mould 90º and repeat until all sides are folded.
- Pinch the bottom rim of your muffin liners; this will help your muffin liners hold their shape once in the tin.
- Invert the mould into your muffin tin, pressing down firmly to secure the liner. Repeat to make however many liners you need.
- Fill and bake your muffins!
Don’t need the finesse? Simply place your baking paper square over the base of your mould and smoosh down the sides using your whole hand.
Feature Image by Alina Karpenko on Unsplash
Did you make your own muffin liners? Tag us on Instagram @foodandhomesa and let us know how it went!
ALSO SEE: How to make a piping bag with baking paper


